Bulk Import
You can use bulk import to create or edit multiple campaigns, ad groups, ads, and posts simultaneously. Here’s how you can get started.
Want a more interactive way to learn about Bulk Import? Check out our Interactive Bulk Import Guide.
1. Download the template
Download a template with existing campaigns
The template is only available in a CSV format.
- Go to the dashboard.
- Choose the campaigns you’d like to include in your template.
- Select … More options > Download templates.
Download a blank template
- In the Ads Manager, select Import campaign in the main menu.
- Select Import from template.
- Download either an empty XLSX or CSV template.
2. Edit the sheet
- Open the template in your favorite sheet editor. We recommend using Google Sheets so that weird characters don’t appear in your export.
- Edit the fields you want to update. If you don’t want to change an entity, delete the row or set the value in the Results column to
IGNORE. - To add a single entity (a fancy word for a campaign, ad group, ad, or post), insert a new row and fill in the corresponding columns. Leave the ID column for the entity’s type blank since these entities don’t exist yet.
- If you’re creating an ad group for a new campaign, set the same Campaign ID for each ad group in this new campaign. This lets us know to assign a permanent ID so they’re organized. For example, you could put
TEMPC1in the ID column for a campaign. Any other ad groups withTEMPC1for the Campaign ID column will be created under the same campaign.If you’re only adding new media to existing campaigns and ad groups, clear the info from all your campaign/ad group columns except Campaign ID and Ad Group ID. Clearing the other values won’t affect the existing data. Afterwards, add the names of the files to Media File Name. Make sure to include the extension (JPG, MP4, etc.).
- When finished, save your CSV file. If you used Google Sheets, remember to export it to your local device.
3. Upload your template
- In the Ads Manager, select Import campaign in the main menu.
- Select Import from template.
- Drag and drop your sheet to Upload template file. If your sheet includes media, upload your files in Upload images & files. Learn about our media requirements
File names must match exactly with the spreadsheet, including the file extension (such as PNG or MP4).
- Select Save to upload your files and make changes to your entities.
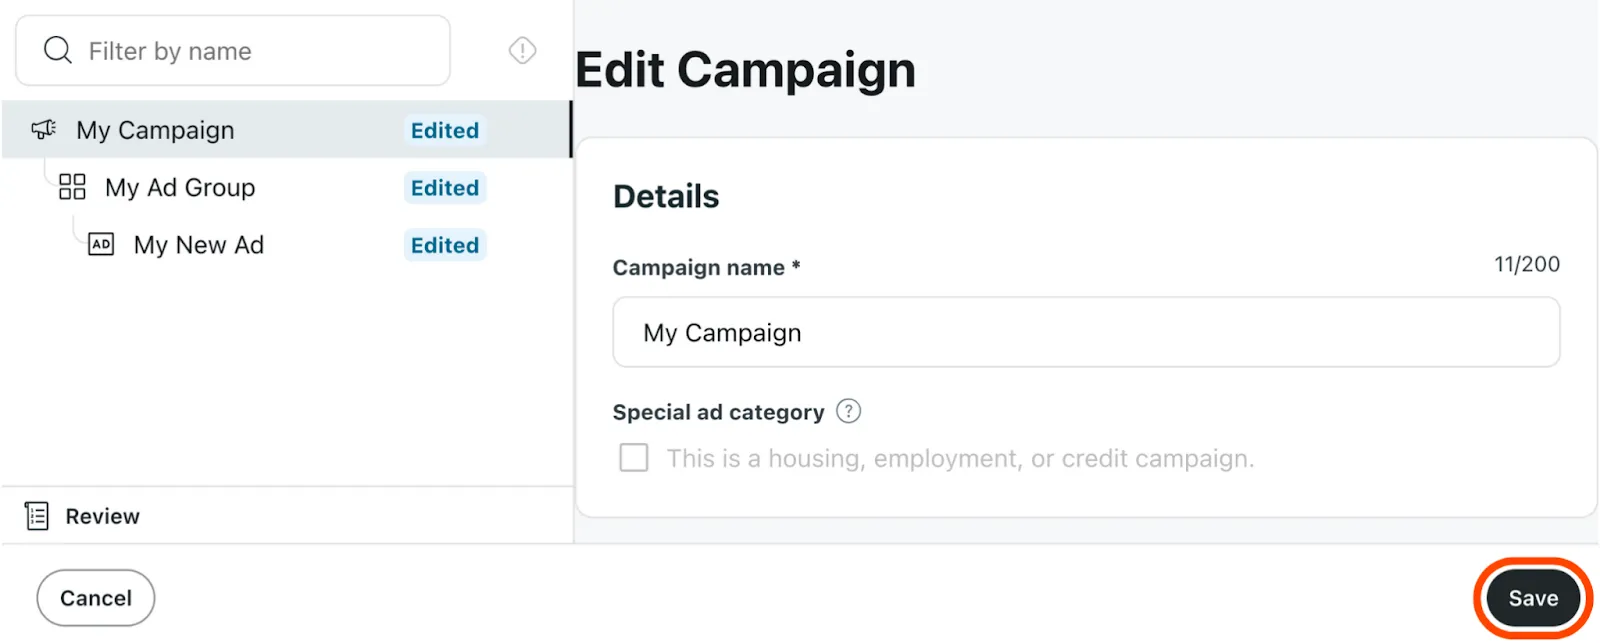
4. Review your results
After your import is processed, review your changes. Choose an entity in the sidebar to view more details and edit it. Select Save to make your changes. Learn more about reviewing your campaign.
Common bulk import issues
Weird characters showing up on the export
Weird characters may appear when Microsoft Excel encodes the CSV format. This won’t prevent you from editing the other fields when you export campaigns, but you won’t be able to remove the characters from your export. We recommend using Google Sheets so this doesn’t happen. Just remember to export your file before uploading to the Ads Manager.
Problems with special characters
Problems with special characters may appear when using Microsoft Excel due to text encoding. We recommend using Google Sheets so this doesn’t happen. Just remember to export your file before you upload it to the Ads Manager.
Placement or Custom Audiences not showing up
We’ve tried to support as many fields for campaigns as possible, but there are some we don’t support yet. As a workaround:
- Build and save the ad group.
- View the ad group in the Ads Manager.
- Add a custom audience to it or specify its placement.
CSV upload is stuck
If your upload is stuck in processing, try again in a few minutes. If you see a red exclamation point next to the file in the bulk import window, an error has occurred. Double-check that your media is up to spec.
Uploaded media files aren’t attached to your ad
Make sure that your media file names include the file extension (JPG, MOV, etc.) in the Media File Name column of your CSV template.
The ProRES video file isn’t uploading
We don’t accept ProRES video file formats. But you can use a video editing program to change the file format when re-saving the file. See our creative specs.
Couldn’t download the pre-filled template
You may have selected too many campaigns for export. Try again with fewer campaigns.